
Bringing brunch to the burbs.
The move from Manhattan to the burbs was initially traumatic. I struggled to adjust to the seemingly endless commute, I felt the void of food delivery options, and underwent the emotional upheaval that comes with breaking up with beloved brunches. Of course suburbia wasn’t without some benefits, such as grass and gardens, closet space, and a welcoming community to raise my children— but what is safety and serenity without salmon and smear?
My husband, the Camo Chef, has a keen aversion to the city and was determined to make the burbs blissful (and perhaps put an end to my complaining). True to his handle, he tackled my provision problems. He served up feasts that rivaled all restaurants and went to task creating recipes for jellies, hot sauces, cured meats and fish, and pickled vegetables from our new garden. Many of his recipes are derivations from his favorite experts like Mark Bittman (his gravlax recipe is the inspiration source here), Francis Mallman, Rodney Scott and many other greats.
Don’t tell him I admit it, but not only are his suburban substitutes far superior to city selections, but the immersion into these cooking and garden hobbies also proved far more fulfilling than the transient treats and consumption conveniences of the city. In fact, I found this new lifestyle so delightful that I quit my career entirely so I can dabble in these diversions daily. So I guess he solved my commute crisis too!
We’ll be sharing all his recipes, from cured salmon, to hot pepper jelly, to fresh-cut cucumber pickles and more on this blog with you in hopes that it inspires more homemade hobbies. Let’s start with that salmon and smear, shall we…
Much like most good suburban stories, we begin at Costco. We love the salmon selection there and for Gravlax you’re going to want a nice large filet, sockeye or king salmon is best. You’ll want to make this as soon as you get home from wholesale heaven, as freshness of the filet is essential.
Ingredients:
~3lb salmon fillet, sockey or king
1 cup salt
2 cups granulated sugar
1-2 tablespoon of black pepper
1/4 cup of gin (we like the botanist)
1-2 bunches of fresh chopped dill (stems included)
Combine the sugar, salt, and pepper and mix together well. For the sugar, we use granulated white as we’ve had better success than when we used lght brown sugar. Mark Bittman’s recipe calls for light brown sugar, and we concede he knows far better than we do, but we have tried it both ways multiple times and our batch with granulated sugar has always turned out lighter and less dense. Perhaps we simply got a better salmon filet for those batches, or there’s also a high likelihood our brown sugar could have been a bit dried out (I am yet to find a storage container that keeps brown sugar from drying out!), but regardless, we now always opt for granulated sugar.
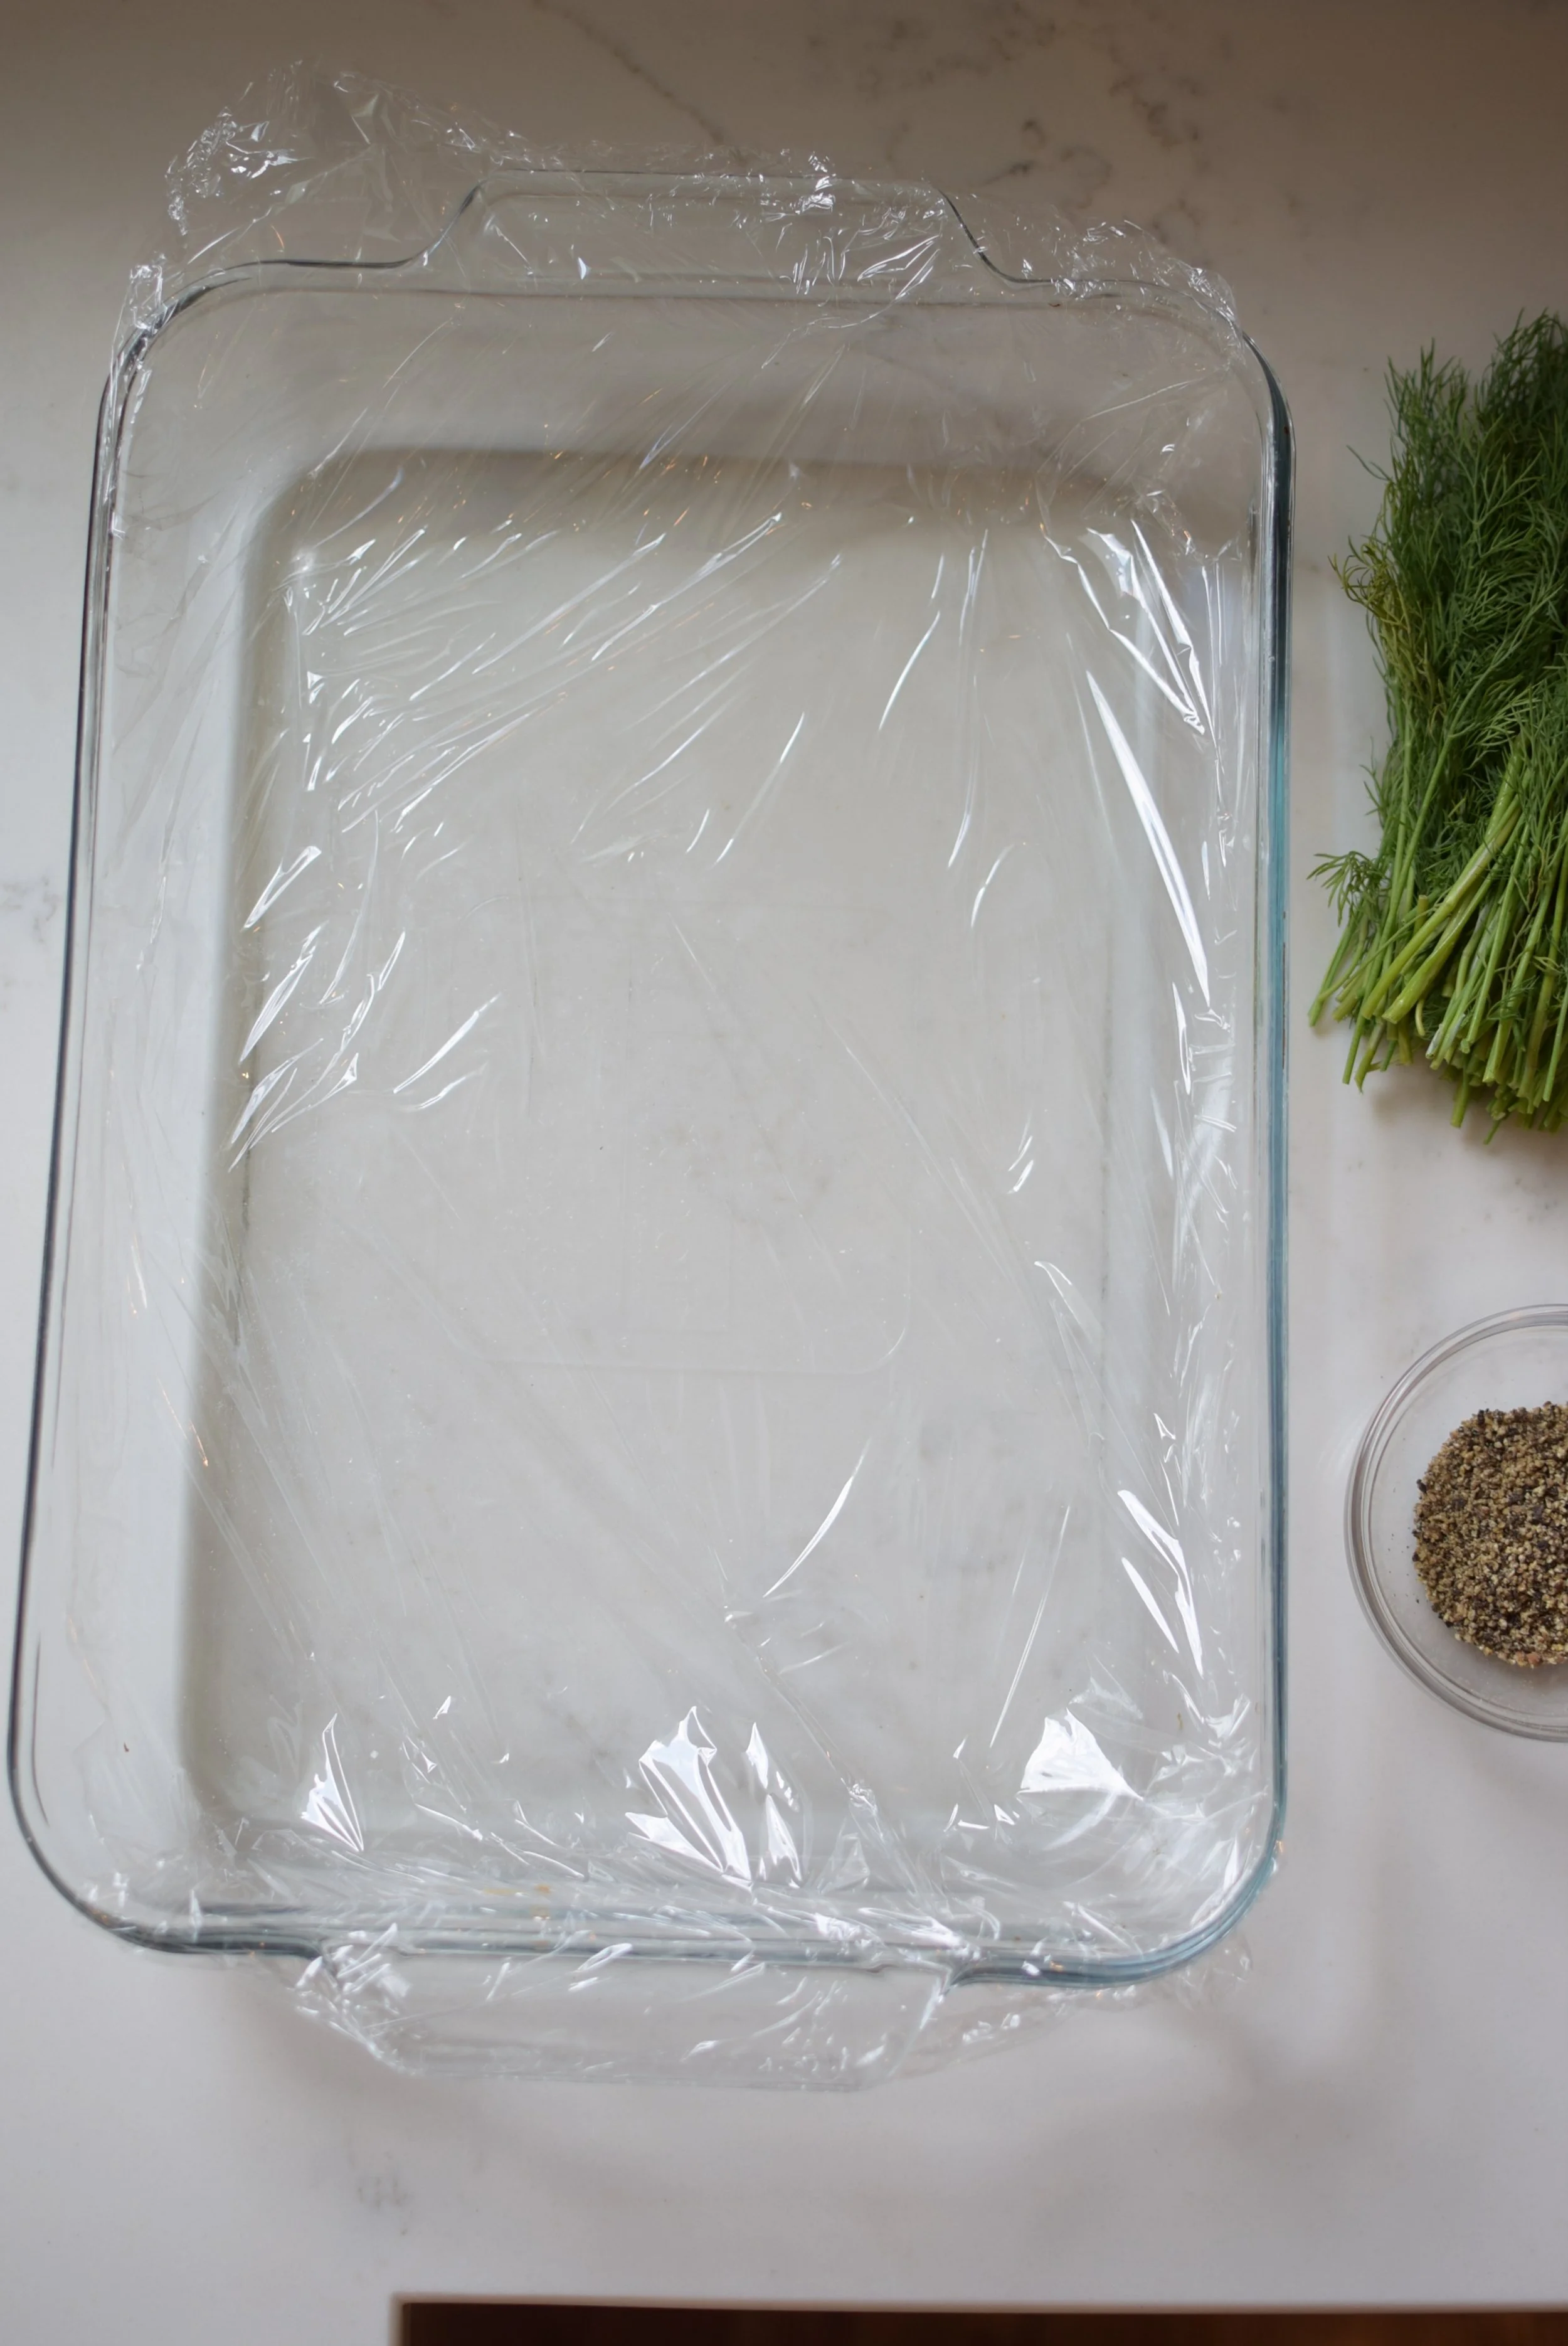
Place a large piece of Saran wrap onto a cooking tray or a similar dish with edges that will keep any juices from spilling off. Pour half of your dry mix evenly over the saran wrap, this will be the mixture that coats the bottom of your filet.
Blot your filet dry and then place it on top of the mixture. Pour the remaining half of the dry mixture over the filet and rub evenly across the top and around the edges. Next, pour the 1/4 cup of gin evenly over the top of the dry-rubbed filet and try your best to keep the liquid contained within the saran wrap. You can substitute the gin for brandy or vodka, but we have preferred the flavor and lightness that we get using the gin. Sprinkle all of your dill over the top and finally, wrap the saran wrap tightly around the entire filet. I then place another cooking tray on top of the filet and weigh it down with two large soup cans or an object of similar heavy weight.
Place the filet into the refrigerator. You should flip it over every 12 hours as we have found this keeps the bottom from getting over-cured. When you are flipping the filet, be sure to open the Saran wrap to baste the filet with any juices that have escaped. The curing process will likely take two to three days, depending on the size of your filet— more often than not, ours is ready by the end of day two. You’ll notice the color of the filet gradually changes and ultimately when it looks a bit cloudy that means it is properly cured. You want to be sure remove the filet before it gets too tough throughout (ie over-cured), but you should expect the exterior of the filet will get a bit firm given it is the part of the fish that’s most exposed to the curing mixture.
I quickly rinse the filet under ice cold water to remove the curing residue and abundance of dill, and then blot dry very well. Rinsing it is controversial I realize, and isn’t necessary as you will cut off most of the exterior anyways, but I still prefer give it a quick splash. Use sharp filet knife and cut on the bias to slice nice thin gravlax strips. There will be some exterior pieces that are quite tough that you will simply dispose of, but once you remove that exterior “cure skin” you will slice into soft, melt in your mouth gravlax.
Trust you can toast a bagel and spread some cream cheese, for that’s all that’s left to do here! Capers are a nice touch, a little dijon adds a bit of bite, and a squeeze of lemon is a must.
Sorry, Sadelle’s— brunch is served in the burbs.
Lots of pretty process pictures below and there’s a also reel of our recipe available @nestledinnewcanaan on Instagram.


All pictures are the property of Maggie Bentley